Preparing Outdoor Surfaces for Resealing After Washing
Pressure washing outdoor hardscapes removes ground-in dirt, moss, algae, and surface stains, but pressure cleaning is only the first step in a restoration project. Applying a high-grade sealer immediately after washing without proper preparation can trap subterranean moisture, cause unsightly white haze (efflorescence), and lead to premature sealer delamination. For homeowners and commercial property managers in coastal environments like Glenelg, the interaction between Gulf St Vincent’s maritime air, salt residue, and porous masonry makes methodical surface preparation essential before any sealer touches the ground.


Evaluating Substrate Moisture Content
The single most critical factor between washing and resealing is ensuring complete moisture elimination. Even when concrete, exposed aggregate, or natural stone appears completely dry on the surface, moisture often remains trapped deep within the capillaries. In Glenelg's coastal climate, morning sea mists and elevated humidity levels can significantly slow evaporation rates.
To verify that a surface is ready for sealing, use an electronic surface moisture meter or conduct a simple plastic sheet test. Tape a 40x40-centimeter square of clear plastic wrap to the washed concrete using heavy-duty tape, ensuring an airtight seal on all four edges. Leave the plastic in place for 24 hours. If condensation forms beneath the plastic or the substrate darkens noticeably relative to the surrounding area, deep-seated moisture is still present and the area requires additional drying time.
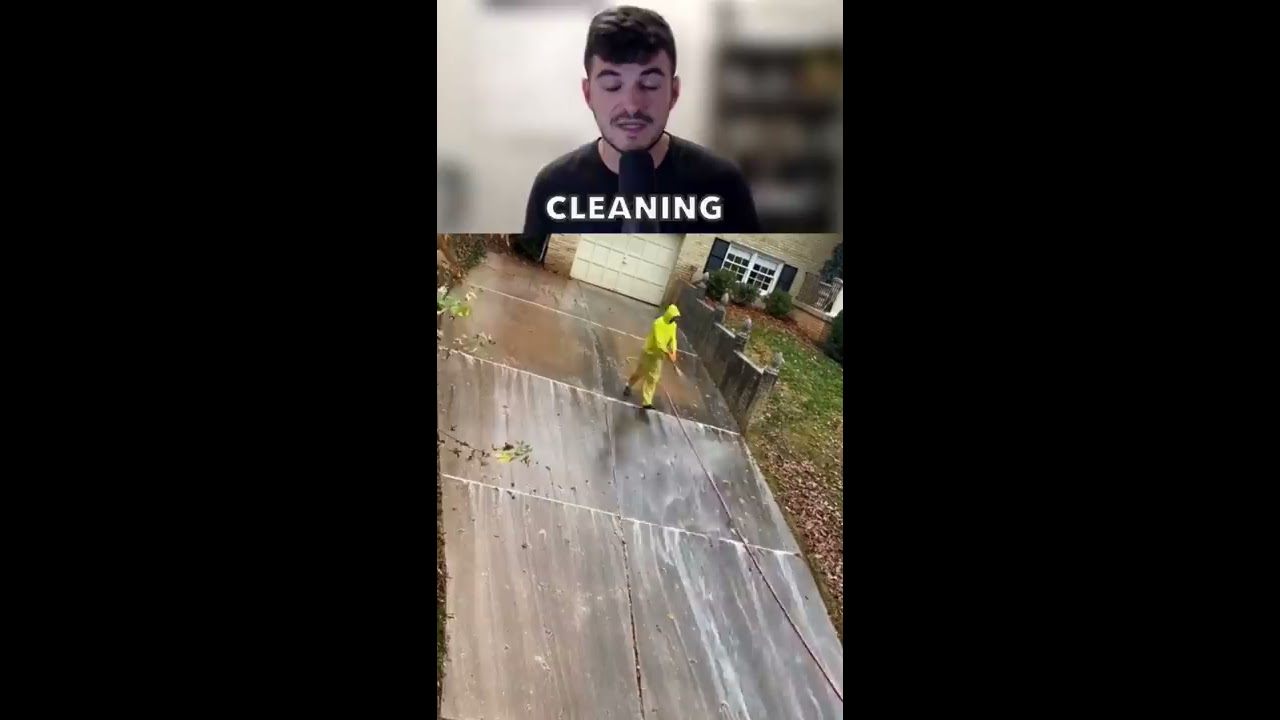
Essential Preparation Steps Following Pressure Cleaning
Once initial drying is underway, systematically address joint stabilization, salt mitigation, and surface masking before starting the sealing process.
- Neutralize and Remove Salt Residue: Coastal winds deposit airborne salts onto exterior surfaces daily. If residual wash water evaporates slowly, concentrated mineral deposits may remain. Sweep thoroughly and, if necessary, lightly scrub chalky patches using a pH-neutral cleaner designed to dissolve efflorescence without altering the stone's profile.
- Inspect and Repair Substrate Defects: High-pressure water often reveals hidden hairline cracks, spalling, or loose mortar joints. Repair these structural imperfections using an appropriate hydraulic repair mortar or flexible polymer patching compound, allowing complete cure times prior to sealing.
- Re-sand Paver Joints: If washing interlocking pavers, high-pressure streams inevitably displace jointing sand. Allow joints to dry thoroughly, then sweep polymeric sand or kiln-dried sand into the crevices, compacting the joints until sand sits approximately 3 millimeters below the paver chamfer edge.
- Isolate and Mask Adjacent Elements: Cover adjacent garden beds, render walls, stormwater grates, and metal fixtures with heavy builder's plastic and exterior-grade masking tape to avoid overspray or chemical discoloration.
Timing Your Application in Glenelg's Microclimate
The unique weather patterns along the coast mean that timing your resealing project requires careful monitoring of atmospheric https://glenelgpressurecleaning.com.au/sanitation-cleaning/ variables. While modern penetrative and topical sealers incorporate advanced resins designed to resist UV degradation, application performance relies strictly on ambient conditions during curing.
- Substrate Temperature: Surfaces should ideally be between 12°C and 28°C during application; hot summer concrete accelerates carrier evaporation, leading to bubbling and roller marks.
- Relative Humidity: Relative humidity should remain below 75% to allow carrier solvents or water to evaporate without trapping moisture under the sealing film.
- Wind Exposure: Avoid sealing during breezy afternoons when coastal winds lift fine beach sand across Jetty Road and the foreshore, embedding abrasive particulates directly into the wet finish.
- Weather Stability: Ensure a stable forecast with zero chance of rain for at least 24 to 48 hours post-application to facilitate full cross-linking of the polymer matrix.
Final Surface Debris Clearing
Immediately prior to sealing, perform a final sweep using an industrial leaf blower or stiff bristle broom to eliminate fallen foliage, loose dust, and airborne debris. Taking these measured preparatory steps ensures that modern protective coatings bond mechanically and chemically to the substrate, providing years of durable defense against foot traffic, vehicle stains, and coastal salt attack.
Glenelg Pressure Cleaning
Unit 3/2-4 Byre Ave, Somerton Park SA 5044
(08) 7282 0893